Showing posts with label Scenery - vegetation. Show all posts

Friday, 10 February 2017

Terrain day - February 2017 edition

Try to find the field of sun-flowers.
We had another terrain-making-day this weekend. It was me, Thomas N and Daniel that playe... worked.
We used my static grass applicator to, well, apply static grass… Lots of hedges and also newly 3D-printed walls got grass.
Daniel based a lot of trees that also were grassed. The sun-flower field was a bit underwhelming, and I guess I have to finish it sometime soon.
Look at those walls! Lots of them! Two more were printed while we worked.
Some vac-formed terrain of mine got the same treatment, more on that in a future post.
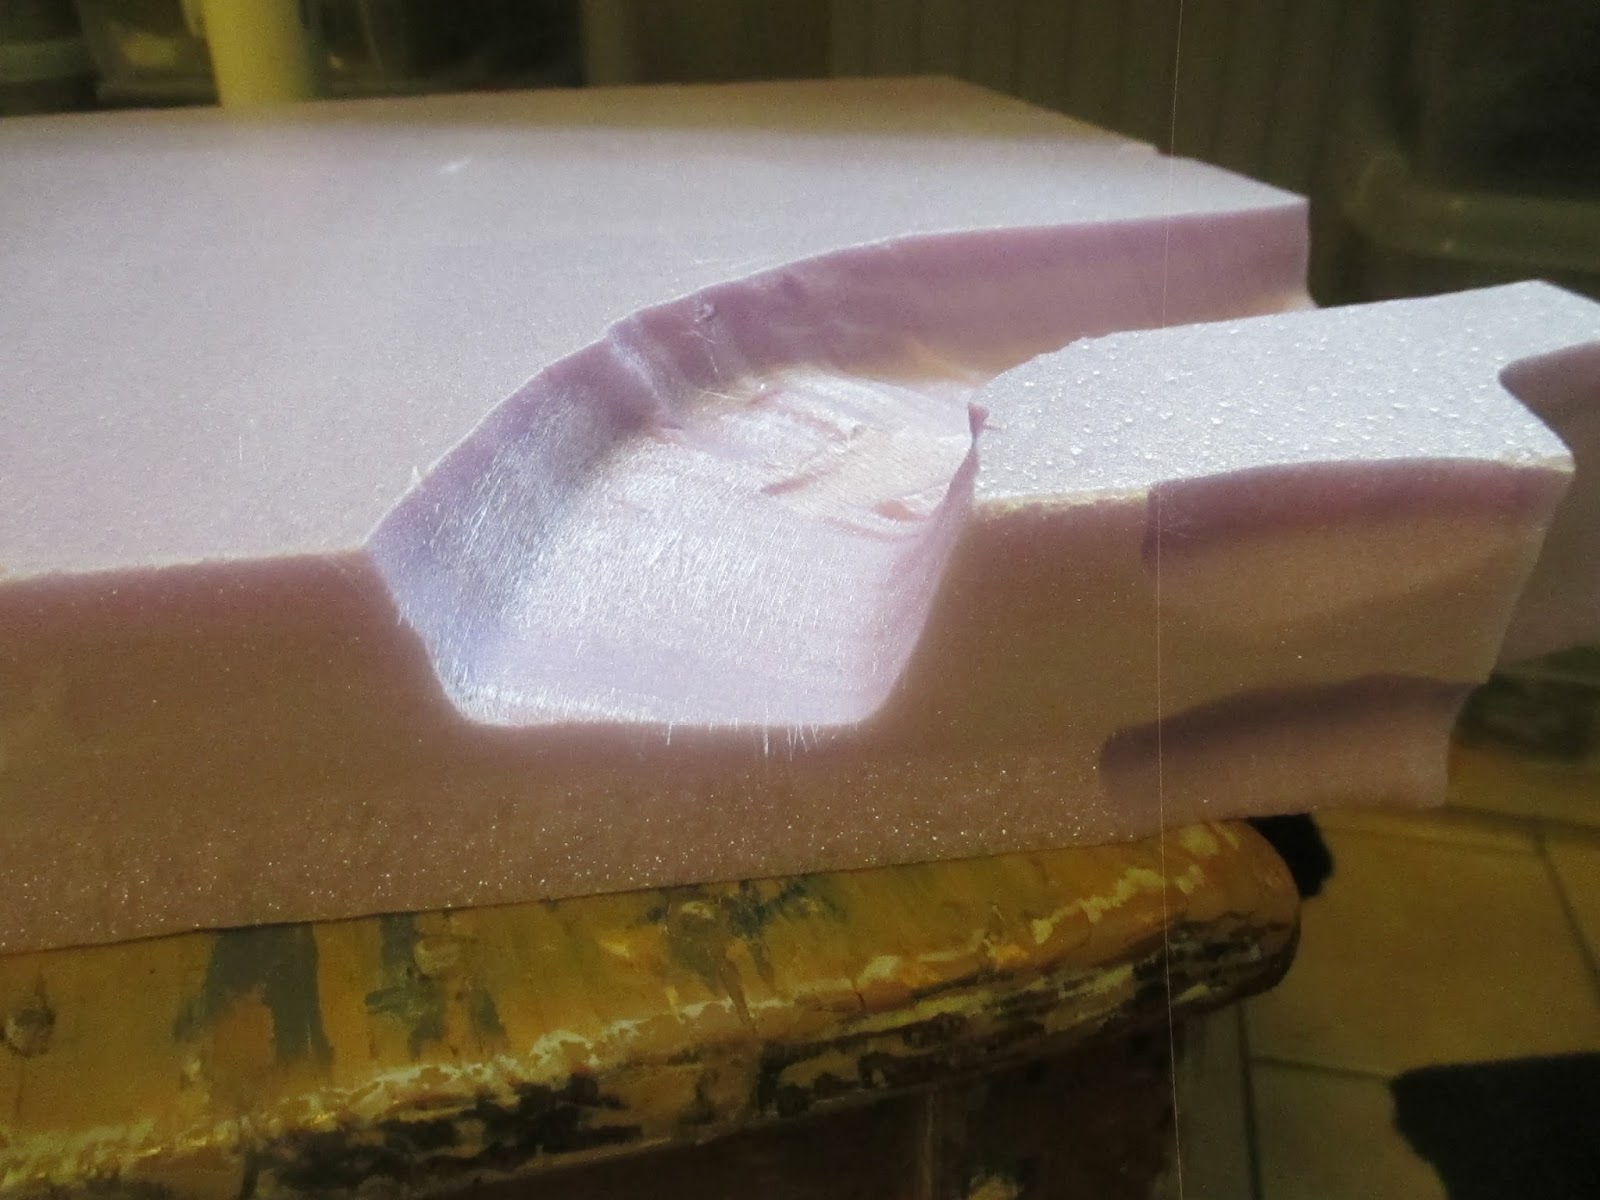
Thomas got to play with the foam-cutter AND he also used his hot-glue gun. He wasn't burned. Amazing!
I had a go at the long-ignored harbour. I really have to get going with it in a serious way as it will be soo cool to play on.
All in all a very enjoyable day with quite a lot of finished and half-finished stuff. More importantly lots of coffee was imbibed and many of tales were told. 

Monday, 6 June 2016

Another terrain-building weekend

Thomas came over this Saturday for another day of terrain-building and we accomplished quite a lot and used a lot of new tools – 3D-printer, static grass applicator and hot-wire cutter.
Static Grass Applicator
I bought a static grass applicator from WWS last year for a project that was delayed and it just laid there in a box. That one was used a lot during the day and to very good effect. We were both very satisfied with how it worked and the results. What we did was brush the ground with wood-glue and put on a layer of 2mm static grass. That will be so thick to practically cover the ground, you essentially don’t see the ground under the static grass. Over that we sprayed glue and put on another layer of 4 or 6mm static grass. The result is fantastic.
Hot-wire cutter
I bought this Proxxon hot wire cutter from the webshop Signalsidan a couple of weeks ago and used it for the floating rocks below. With this you can bend your cutting wire into whatever shape you want and then cut effortlessly, for example a river-bed. Thomas had a go with it and it’s the same here, very useful and a very good buy. It will be incredibly useful.
We bent the wire to a U-shape and Thomas played with it. A decent river-bed for a first try.
All in one piece (well, he did a little bit of carving after the big piece came off)
3D-printer
I bought this a couple of weeks ago and showed Thomas a bit of what I had printed and how it worked. There will be a post on the printer soon.

That’s the hardware, now for what was finished.
Flying boulders
These are for next game in the Pulp Alley campaign at the club. The Perilous Island campaign is nearing its end and the heroes will see the Island go up in flames and when that happens we need pieces of levitating broken ground, and these are the pieces. Think of them with black smoke obscuring the bottom pieces (you’ll see them in an AAR here soon).
I cut these with the hot-wire cutter, glued sand on top and sides and painted it chocholate brown before our terrain-day. 
Here they are, ready for action.
Hedges
We started these last year on a terrain-day and they were waiting for static grass. It’s rubberized horsehair hot-glued onto cork (DUGA from IKEA), dunked into coloured hamster bedding (all this done last year) and now grassed. We used a darker tone of 2mm static grass (applied over wood glue painted directly over the cork, no paints) and when dry we sprayed glue on top of the original layer of grass and applied a layer of lighter 4mm grass (or was it 6mm, can’t remember)
A pic from last year when we started these hedges.
Here they all are
Brambles
A very short experiment where we took a piece of rubberized horsehair, sprayed it with glue and applied 4mm static grass. The result is, in my opinion, a perfect piece of brambles or similar bush to be used as scatter terrain. I’ll do lots more of these.
Castle Ruin
I had this F201 Castle Ruin from Amera. The stonework was painted, ground covered with brown building acrylic with sand sprinkled over and painted chocolate brown. It was also waiting for static grass and we covered it in several colours of 2mm grass and topped that with 4 and 6 mm static grass. It turned out great, if I might say so.
only 2mm grass
4 and 6 mm grass added
3D-printed walls
I had these already painted and we grassed them. I guess there will be lots and lots of printed walls in the future, as you can never have enough. These are scaled for 28mm but I’ll do some down-scaled for 20mm scale too.
The new Harbour
We cut out the pieces for the new harbour also. It will be a big 120x180 cm piece, enough to cover one of the gaming tables at the club. Now I “just” have to scribe in the stonework. That will be for rainy days…
The new sections. The Bridge stands where I will have a removable canal.
Parts from the earlier harbour will be converted (i.e., cut up) for use in the new set-up. This part will be cut along the table-edge.
Same with this part. Cuts at the table-edge and by the pink foam.
A good terrain-making day!

Wednesday, 26 February 2014

Wild West plants

I had quickly made some bushes for our game of Dead Man’s Hand the other day. Had to have more, and here are pics of what I did.
These are really looking good. Based on washers.
Resin cacti from Great Escape Games. Just painted the bases and a light buff dry-brush.
All are bought in home-decorating-, flower- or pet-shops, and have been in a box for several years. I have made jungle plants of others before.

Sunday, 7 July 2013

Normandy trip – Day four – Bocage

One thing that you hear every time there is talk about the Normandy campaign is…bocage. High hedges with earthen embankments surrounding small pastures that made life miserable for the attacker, and a perfect setting for defence. I’ve tried making bocage on two occasions, here and here. I thought the results were decent, considering I had never seen the real thing.
One of the things I really wanted to see up close on this trip was just this, bocage. As I was the only one in our group who had this craving, we didn’t take half a day off to do an in-depth study of this terrain-type (sadly, I think I would have liked that…), but I got my chance when the bus stopped at a British cemetery. Everyone but me went for the graves, I jogged away to the bocage a couple of hundred meters off.

I tried to take more photos of bocage from the bus. Below are some that are at least decent.
So, what did I learn?
- The sides of the earthen embankments are far steeper than I thought.
- The embankments also seem to be rather narrow, not as wide as I made them in my previous tries.
- The embankments are overgrown with grasses and other plants.
- The lower part of the hedge is usually pruned to make it less bulky, a simple way of giving more space for road-traffic and movement close to the hedges. This I have seen from war photographs also.
- A couple of meters up, the hedge grows out, making a canopy of sorts.
- There are a lot of trees in these hedges.
- They are very uneven in height.
- Lots of different types of bushes and trees, meaning lots of different shades of green.
- When I was there, June 8-12, some of the hedges and trees bloomed. Yellows and whites. The same with the earthen embankments. 

Guess I have to improve my old bocage-hedges a bit, mainly applying static grass to the ground, and make lots of new ones.

By the way, nearly two years ago I found an excellent military history site, reviewed here. There you can find a very interesting report on lessons learned and tactics used in the fighting in the bocage.


Rest of the trip:
Part 1 – Day 1
Part 6 – Day 3 - Merville

Saturday, 23 February 2013

Weekend of fun


Last weekend gaming pals Thomas and Icke visited for an afternoon of terrain-building. The idea was to continue our brainstorm about what we needed for our LRDG-project, decide how to make it and then produce (some of) it.
I started the day before by taking out all terrain-making stuff I had lying about. Strangely enough it was a lot...
The hoard of terrain making stuff.
A box of flock, sand, clump foliage and static grass, plastic card and –rods/-pipes and –girders, balsa and wood in all shapes and forms, lots of branches and dried heather, plastic plants, a mould for cliff faces I had totally forgotten, four different clays, foam-core, plastic kits, textured paints, glues and odds and ends. I covered my table tennis table...
Thomas brought some more plastic girders, tree armatures and this and that.
After a short conference we started building.
Fences
Even in the desert there are some hardy trees. Icke got green fingers...
What would you do without a fuel dump? Really, we have an idea here... but maybe this approach isn’t the most time-efficient.
Camouflaged parking space for a plane... minus netting
Another sort of fence for western front
A totally failed attempt at a clump of high grasses.
We half-finished a lot of terrain, had some very good ideas and made some mistakes we (hopefully) learned from. We also had a nice chat about everything WWII, drank a lot of coffee and coke, ate potato crisps/chips and made a lot of plans. As a bonus two of my kids helped with this and that, and were quite happy about it. All in all a very nice afternoon.
We’ll try to do a follow up with better planning in the future, as this was very ad-hoc, meaning few of the gaming-gang could show up on such very short notice.
When I finish the respective pieces you’ll get a more in depth how-to post on each item (well, maybe not the clump of grasses)