Thomas came over this Saturday for
another day of terrain-building and we accomplished quite a lot and used a lot
of new tools – 3D-printer, static grass applicator and hot-wire cutter.
Static Grass Applicator
I
bought a static grass applicator from WWS
last year for a project that was delayed and it just laid there in a box. That
one was used a lot during the day and to very good effect. We were both very
satisfied with how it worked and the results. What we did was brush
the ground with wood-glue and put on a layer of 2mm static grass. That will be
so thick to practically cover the ground, you essentially don’t see the ground
under the static grass. Over that we sprayed glue and put on another layer of 4
or 6mm static grass. The result is fantastic.


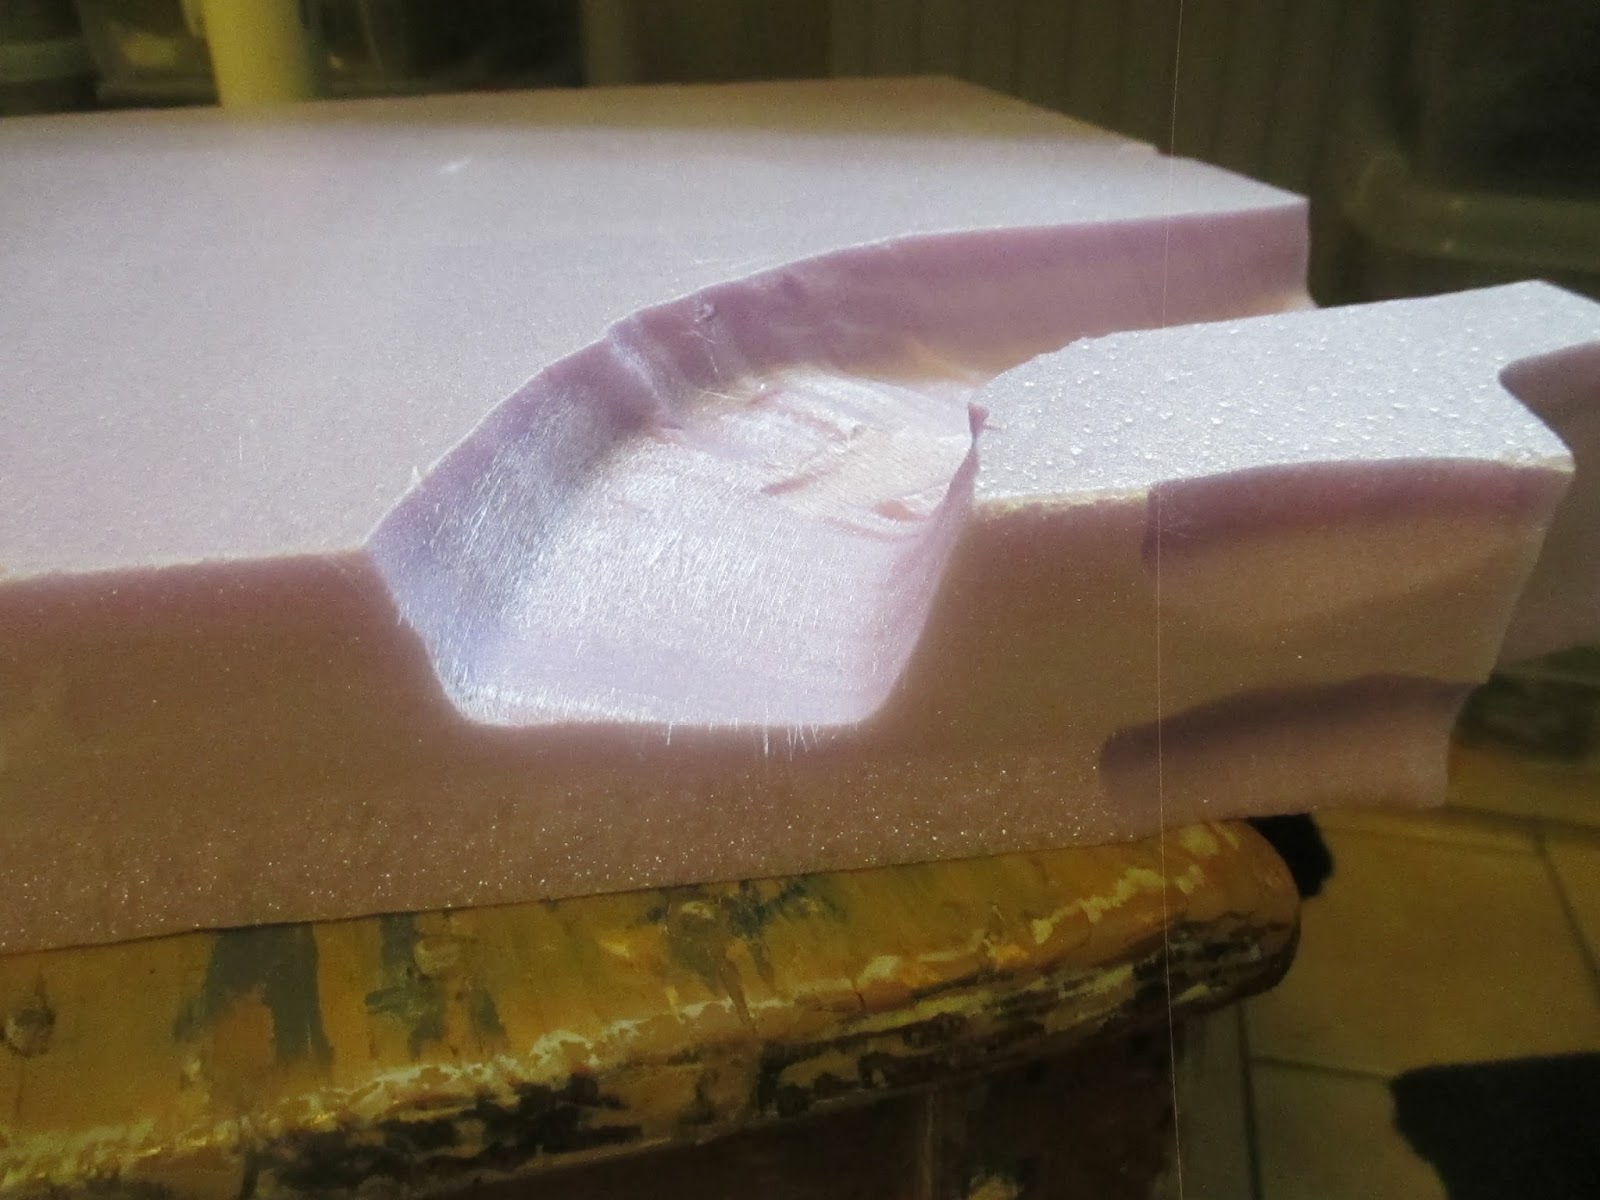 |
| We bent the wire to a U-shape and Thomas played with it. A decent river-bed for a first try. |
 |
| All in one piece (well, he did a little bit of carving after the big piece came off) |

That’s
the hardware, now for what was finished.
Flying boulders
These are for next game in the Pulp Alley campaign at the club. The Perilous Island campaign is nearing its end and the heroes will see the Island go up in flames and when that happens we need pieces of levitating broken ground, and these are the pieces. Think of them with black smoke obscuring the bottom pieces (you’ll see them in an AAR here soon).
 |
| I cut these with the hot-wire cutter, glued sand on top and sides and painted it chocholate brown before our terrain-day. |

 |
| Here they are, ready for action. |
We
started these last year on a terrain-day and they were waiting for static
grass. It’s rubberized horsehair hot-glued onto cork (DUGA from IKEA), dunked into coloured hamster
bedding (all this done last year) and now grassed. We used a darker tone of
2mm static grass (applied over wood glue painted directly over the cork, no
paints) and when dry we sprayed glue on top of the original layer of grass and
applied a layer of lighter 4mm grass (or was it 6mm, can’t remember)

 |
| A pic from last year when we started these hedges. |

 |
| Here they all are |
Brambles
A
very short experiment where we took a piece of rubberized horsehair, sprayed it
with glue and applied 4mm static grass. The result is, in my opinion, a
perfect piece of brambles or similar bush to be used as scatter terrain. I’ll
do lots more of these.


Castle Ruin
I
had this F201 Castle Ruin from Amera. The
stonework was painted, ground covered with brown building acrylic with sand sprinkled over
and painted chocolate brown. It was also waiting for static grass and we
covered it in several colours of 2mm grass and topped that with 4 and 6 mm
static grass. It turned out great, if I might say so.


 |
| only 2mm grass |
 |
| 4 and 6 mm grass added |
3D-printed walls
I
had these already painted and we grassed them. I guess there will be lots and lots of printed
walls in the future, as you can never have enough. These are scaled for 28mm
but I’ll do some down-scaled for 20mm scale too.


The new Harbour
We
cut out the pieces for the new harbour also. It will be a big 120x180 cm piece, enough to cover one of the gaming tables at the club. Now I “just” have to scribe in the
stonework. That will be for rainy days…
 |
| The new sections. The Bridge stands where I will have a removable canal. |

 |
| Parts from the earlier harbour will be converted (i.e., cut up) for use in the new set-up. This part will be cut along the table-edge. |
 |
| Same with this part. Cuts at the table-edge and by the pink foam. |
A
good terrain-making day!
Cool! A 3d printer. I am interested in how it worked for you and what kind of miniature products will you be making with it!
ReplyDeleteI look forward to your comments on the printer.
watch this space on wednesday when I'll show some of what's done so far and some early thoughts on the printer.
DeleteWhat a productive weekend! Love the ideas for brambles, which I will have to try at some point. also curious to how you get on with the 3D printer.
ReplyDeleteIt was a good day with a great mix of terrain-making and ales (all cutting done before beer, though...)
DeleteThe brambles turned out great and they look so much better than the usual brightly coloured moss :-)
Love the brambles and hedges, need to try these. I can see the printer being very useful indeed!
ReplyDeleteit's an easy way of making good-looking hedges and the brambles were dead easy.
Deletethe 3D printer is lots of fun and producing fun stuff. Making a big tower now with some 20+ pieces and that takes some time.
Wow, you've got all the toys! I like the floating islands (looking forward to seeing them in action).
ReplyDeleteYep, well supplied with hobby-toys now.
DeleteAnd, you know, everything fun you can do will be even better with appropriate toys ;-)
Very impressive.
ReplyDelete:-)
DeleteAmbitious to say the least! I am most impressed!
ReplyDeleteIt will hopefully not stay with ambitious when it comes to the harbour :-)
DeleteSo much lovely terrain! Look forward to seeing some great tables!
ReplyDeleteI done a bit on the harbour today (it's our national day today and no work) and it's shaping up well. I'm really excited about it.
DeleteImpressive results! One can never have too many walls and hedges. A 3D printer is on my Want list. One of these days...
ReplyDeleteHedges and walls are truly stuff you need infinite amounts of.
ReplyDeleteAt last 3D printers has reached a level where they are more or less affordable and also plug and play.
I do belive prices will fall significantly the next couple of years. It's interesting times...
Nice work! Where did you get 2mm grass?
ReplyDeleteAll static grass from WWS
DeleteGreat fun was had, good beer was drunk and now I want to buy my own static grass applicator. I built one from a fly swatter to test. Not the same animal!
ReplyDeleteIt would be interesting to compare my cheap grass applicator from China. It was obviously built from a fly-swatter but works great and cost a quarter of Jockes machine.
ReplyDeleteThat's what I was thinking. You need to bring it over some time.
DeleteI need to bring myself over... with or without the grass-swatter.
DeleteTrue dat! Make it over to Jockes for a day or just my office for an evening, as long as we get something on the table.
DeleteI don't know about your cheaper version, but this one worked great, with different mesh for different grass length.
DeleteYep, you need to bring yourself over!
Very nice!
ReplyDeleteI hope to own a 3D printer myself one day :).
Looking forward to hear what you have to say about the M3D.
It's great fun!
DeleteBe back tomorrow for a 3D-printer-post
I'm really impressed, not just with the results - really good looking stuff! - but mostly with Thomas not injuring himself whie working with the hot-wire tool! ;-)
ReplyDeleteI need to come along again, once Real Life allows for it, and try this grass applicator, it really looks to give good results.
/K
There was a reason for work first and ale afterwards...
DeleteWe'll do something after summer. Terrain-making is extra fun when you have cool tools :-D