Sunday 23 December 2018

Nativity Scene – Part 3


It’s that time of year again. The Nativity Scene demands an upgrade.
Last year was a bit of a downer as I started on the backdrop too late, it took far too long to make and was ready around New Year.
This year I made a new ground-/road-section and added vegetation. In time!
As we celebrate Xmas tomorrow, on the 24th, I have to run off and buy the last of the food, bake some julvört (a Christmas bread flavoured with porter, ginger, clove, Seville orange and other exotic stuff. Excellent!), glaze the Christmas ham and drink far too much mumma.
There will be a post later with more details of stuff used for the Nativity Scene.
Enjoy the pics and have a really great vacation. 

Wednesday 28 November 2018

Zombicide – Ablobination


This Ablomination come from the Zombie Bosses box for Zombicide: Black Death.
It’s a large beast that attacks all heroes at range 0-1, making it very deadly. 
It will absolutely see action in our next game of Zombicide. I’m looking forward to something new.

Monday 26 November 2018

Brimstone – Targa Plateau Guardian and Jargono Swamp Raptor


A couple of huge monsters for the Shadows of Brimstone boardgame.
The Guardian is some sort of metal construct, walking around on the Targa Plateau, an Otherworld that the heroes can reach through portals in the mines of Brimstone.
It was easy enough to finish, essentially just metallic paints, washes and some drybrushing. Coloured vision-slits and power pack to get some life into it.
The Jargono Swamp Raptor comes from another Otherworld, surprisingly the Swamps of Jargono.
It needed quite a lot of greenstuffing to be presentable, but the end result looks good enough. 
I think it might end up in my soon to start Paleo Diet solo-campaign. Poor cave-women… they will probably need to fight something much easier to start with.

Friday 16 November 2018

3D printing - Hot off the printer – fountain, bridge, outhouse and more

The printer is a bit over a month old now and is happily chugging along. Much of it is dungeon terrain from Printable Scenery (more on that in a later post) but you’ve seen some Wild West outhouses and shacks in previous posts.
Here are some of the things that has materialized the latest week or so.
The Wightwood Abbey Fountain is made by Infinite Dimensions Games, and this one is a freebie from Thingiverse. It’s a great piece and will soon see action in a pulp adventure.
The Stone Footbridge is a Printable Scenery piece, and if you buy the set (NZ$ 5.95) you get two variants, this and one made for sunken riverbeds. This is 100% scale and is rather big, but I intend to print a couple more but smaller. I printed this with .2 mm layer height and on the nearly horizontal areas there is a noticeable layering. The next one I’ll print at .1 instead, to get a better result. A nice and very useful piece.
The greveyard pieces are also Printable Scenery and their Winterdale Cemetery set. That’s a rather excellent set with more than 20 printable pieces for your cemetery, see pic below, for NZ$ 9.95. It's also part of the Fantasy Ruins Bundle
© Printable Scenery and used with permission 

The cart comes from Fat Dragon Games and is a freebie from their newsletter, which is well worth the free subscription.
The box is from Hayland Terrain and their Gold Mine Expansion, which is a useful set of shacks, boxes and tunnel entrances for £5. More on the shacks here.
Finally, the outhouse is another Printable Scenery piece, this time from The Miners Shack set, at NZ$ 9.95, which includes a large shack useable in a Wild West setting and also this smaller outhouse.

Wednesday 14 November 2018

3D-Printing Review: Modelling Miniatures book


First off, I have no experience with 3D-sculpting in a computer and do very little real life sculpting, mainly with green-stuff.
So 
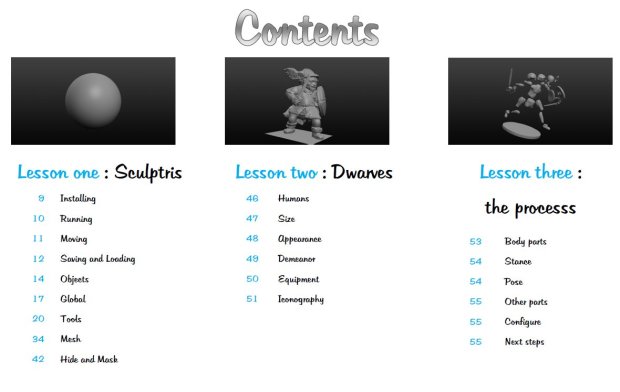
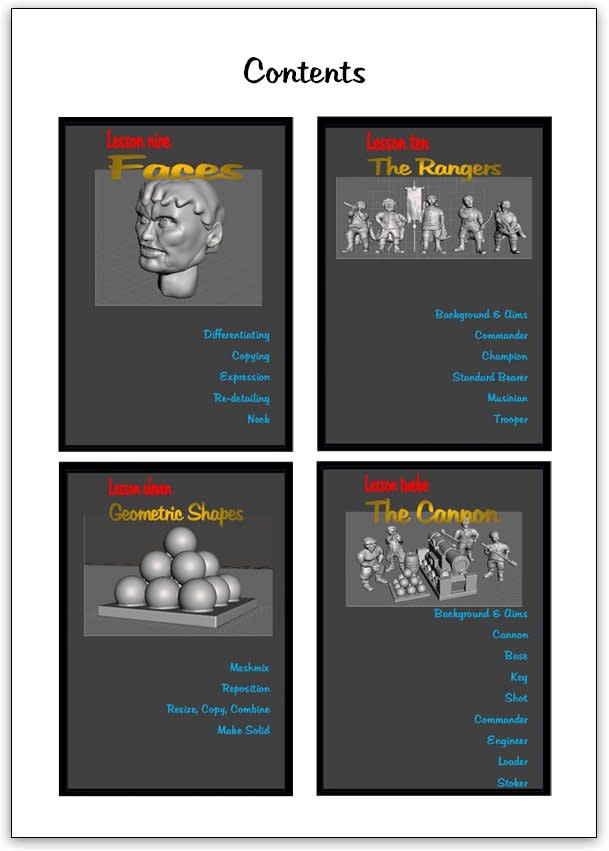
this guide-book is very much written for someone like me, as it is a beginners guide on how to sculpt in 3D using free software.
I began by downloading the free Sculptris software, as per instructions in the guidebook. Registering, downloading and installing took less than five minutes. Five minutes well spent, as it is.
Then I just followed the guide-book and started working through the examples.
I must admit that I started with the examples, but the fun of it got me side-tracked for an hour, when I just doodled in three dimensions. Dear me, it was really fun.
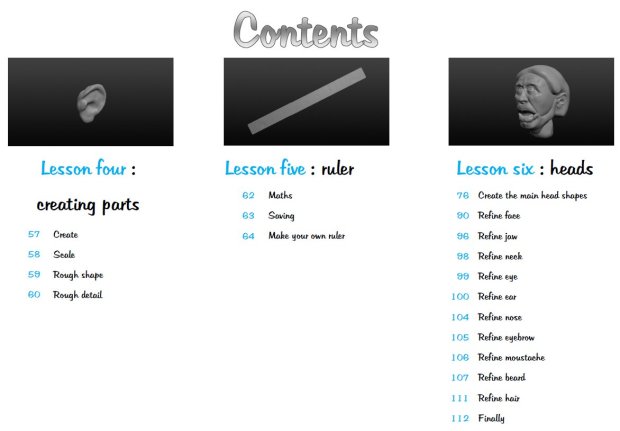
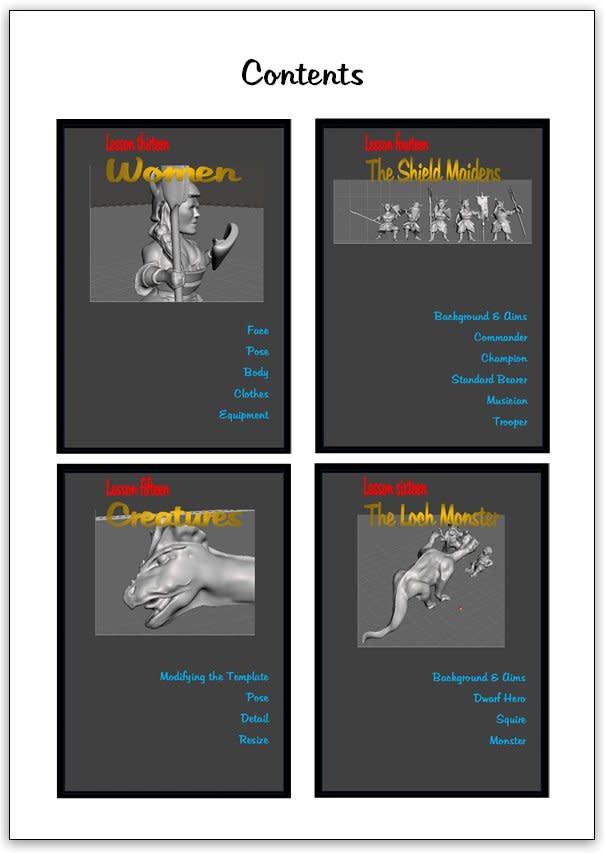
After the first exhilaration I went back to the guide-book and went through more of the examples.
And 
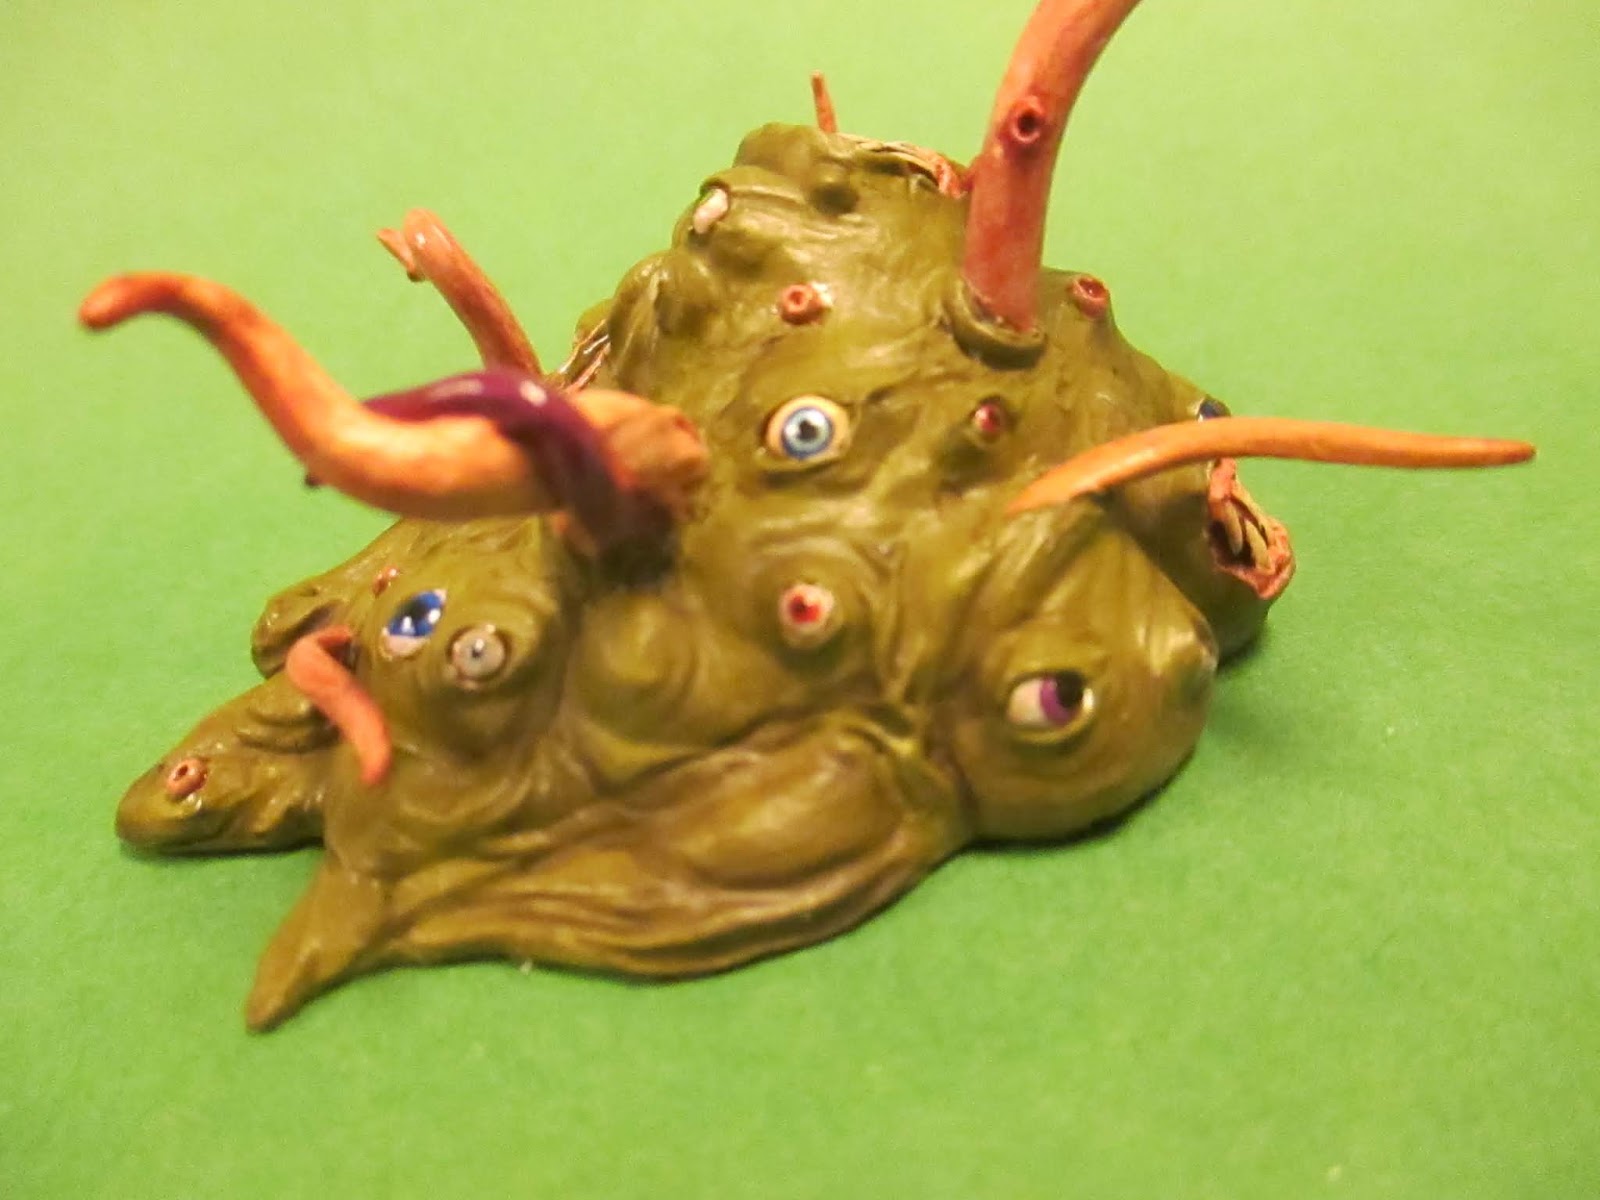
it is not that hard! (Well, at least not the basics) It is actually possible to create stuff. I sure wouldn’t print anything I’ve made so far, but I see a future where I might actually produce a stl-file and load it into my printer.
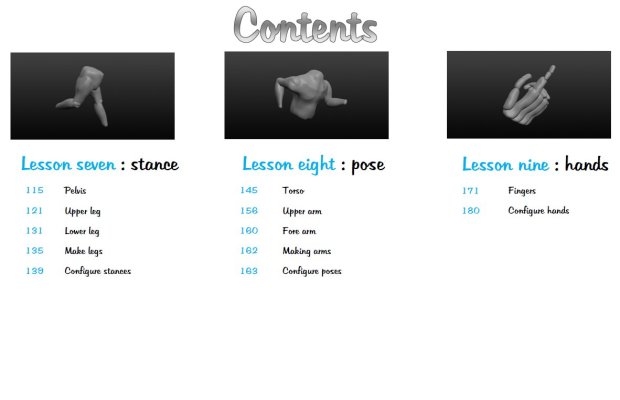
I haven’t gone through it all yet, mainly because I’m fully occupied with far too much work at the moment, but I’m slowly but surely going through the book. It’s lots of fun and one thing is absolutely sure – there is no way I would have done anything 3D-sculpting without a lot of help to get started. With this guide-book I got just that help.
Great stuff, indeed. It’s a must buy if you want to try 3D-sculpting but have no, or limited, experience, as it will kick-start your efforts and flatten the learning curve significantly.
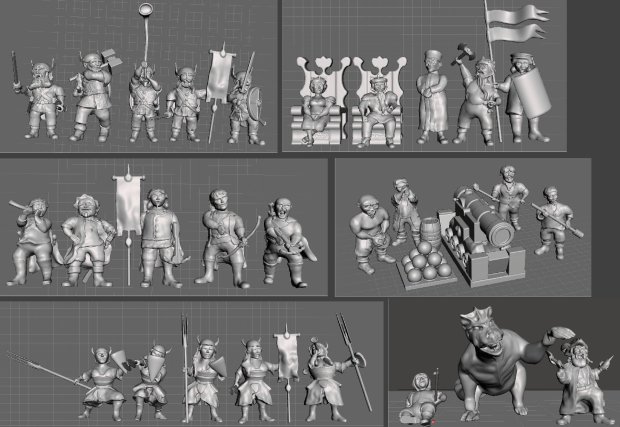
You can get this book and its sequel for only £15, as it is part of Steve Hampson’s newest kickstarter. With the two books are also files for the figures you've worked with, meaning you'll get a bunch of printable minis as part of the deal. Then you will also get two stl-advent-calendars, bringing a haul of stl-files each day from December 1 to 25. What’s not to like?
You’re in a bit of a hurry though, as the kickstarter closes on November 19, 2018.
Highly recommended!

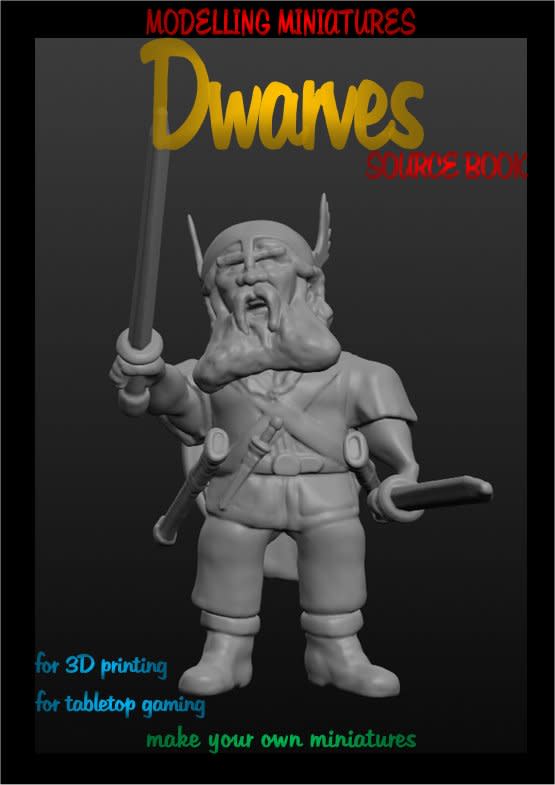
Disclaimer - I got my copy of Modelling Miniatures as a review copy.

Wednesday 31 October 2018

3D-Printing Review: Future Worlds: Landscapes - modular war game terrain


I received some pre-release files from Nick Fatchen/Arid Hills a couple of weeks before he started his current kickstarter. Looking at them and the information given to me made me rather enthusiastic, as I think the whole concept is great – modular terrain-pieces that click onto each other making hills, cliffs and much more.
A couple of clips and a support to get a steady hill-end.
They click together using OpenLOCK, a proven system that I use for a lot of other terrain from Printable Scenery and others.
Support to give stability. They are a bit wobbly at the moment, but I'm told another variant is on the drawing-board. I would like one with extended top and bottom.
I’ve printed some different hill-pieces and cliffs to try out, and it all works rather well. I’ve noticed that I need to clean some of the connectors, especially those  printed down towards the printer bed. It’s essentially a couple of minutes work per tile, so it’s not a big deal.
When that is done the fit is excellent.
My standard 28mm female fighter from Otherworld, taking a stroll on some well textured but unpainted cliffs. She hardly notices the gaps between the tiles.
She prefers painted, though.
There are gaps between the tiles, obviously as they are tiles, but if that doesn’t bother you then you’ll have a very versatile set of modular terrain, with everything from hills to swamps to rivers to trenches (great!) to… well, lots of other stuff also.
Oooh, painted... They will look great with some static grass. 4 inch squares, as can be seen, measured in centimeters.
I think the best way to de-emphasise the gaps is to simply paint the tiles uniformly the same way, so as to not highlighting the gaps. The pics on the kickstarter unfortunately do just that, highlighting the gaps, that is.
There is an obvious other solution, and that is to make permanent hills. You click the tiles together, glue and then fill the gaps with green-stuff or something similar. That way you can get great-looking textured hills with a minimum of fuss. You will lose the modularity though, but I think the end result could be well worth it.
2 inch stepped hill outer corner being printed. I took around 5 hours to print on my Prusa i3 Mk3, with 0.2mm layer height and using 13 meters of filament, costing around €0.60. Hill tiles are typically between €0.40 and 0.80 each, depending on type and obviously filament price. I got mine for SEK 160/€16 for 1kg/340 meters on a sale from Clas Ohlsson. They are ordinarily SEK 200.
I really like this set, and I think there are tons of applications for the tiles. I will definitely play around some more with them and will probably go for both modularity and permanent hills. Maybe a mix of the two, where I make half hills, or something like that, and put them together. There are so many possibilities.
This is really good stuff and definitely worth a look, as it is a great concept. Do check it out at Future Worlds: Landscapes - modular war game terrain on Kickstarter. You’ve got until November 8, 2018, when it ends.

They won’t become extinct after that, I’m told, as the concept will continue to be supported with new tiles and there will be a web-shop to buy it all or in parts. Stay tuned on that also, as I’ll give a shout-out when that is live.
Now it’s back to the printer. I need more edges for my hill.

Monday 29 October 2018

Wild West – Fistful of Lead, gallows, houses, outhouses and more


We’ve started a Wild West campaign at the club using the Fistful of Lead rules. They are really easy to learn, but not in any way simple. Two games in and we are really enjoying ourselves and the carnage that inevitably ensues.
The games inspired me to finish some figures, print some suitable stuff on the 3D-printer and go over the houses I already have and improve them somewhat.
First off is the gallows. I assembled and painted one from 4Ground a while ago, and now I dirtied it up with a wash. Nothing much but it does make it fit in with what other stuff we have at the club. Let’s say it’s a bit of a grimdark past.
I also had some unpainted crew and…customers… for the gallows, and they got a quick brush-job. Beside the gallows is a blacksmith from Shadows of Brimstone.
Next were some houses from Renedra, the American Church and a Farmhouse. They were also already painted and assembled, but got a couple of washes to look worn down.
One thing that is usually sadly missing when it comes to Western towns in 28mm scale, is outhouses. There ought to be quite a few of them and they do present some excellent cover.
I had a build but unpainted one from 4Ground (I think) that got a paintjob and a wash making it look…lived in… or well used. I think this will belong to the Saloon…
Then I printed two small shacks from Hayland Terrain. One is a sturdy shack, maybe filled with dynamite, and the other a conventional outhouse.
On top of that I also finished a couple of wagons, crates and some other small stuff.
Finally some photos of the last two games. The heroes are Killer Kim's Killers, a gang of kind-hearted desperados that love kittens and help old ladies cross the streets (preferably in cover behind them).
Killer Kim (in brown trenchcoat), and his gang - Fast Freddie, Rifle Rich, Shotgun Shaun (RIP in the first game) and Hatless Harry.
A huge shoor-out with the Castroulle Bunch. They were more or less slaughtered which was very satisfactory. For my part most of the game was a big shoot-out more or less centred around the barn in the background.
Second game - Rob the Coach. Two gangs try to rob the coach and one tries to defend it.
Jeppan manages to secure the coach in the end, and gets all the loot. But I get to shoot a lot of people and feel rather satsified.
Read of the first game here. It is of course filled with lies, but it will have to work.
Another game tonight. Should I go for a sneaky game and actually get some loot or the usual all guns blazing approach? Hmm, brawn or brains?
I think I know the answer to that…

Monday 22 October 2018

Shoggoth from RAFM


My daughter gets to choose models from the tin- and plastics-mountain for me to paint now and again. 
This one, Shoggoth from RAFM, she selected quite a long time ago and it has been a very slow project, mainly because all of those eyes.
It’s another one of those models that has been standing there and that I have decided to finish once and for all.
It's a resin model with metal tentacles, and you decide which tentacles to use and where to put them.
Once I started on it again it all went rather fast. I just had to decide to prioritize it.
I’m really satisfied with the result. Not something I would like to meet in a dark alley or an abandoned house.