Wednesday, 8 June 2016

3D-printer and first objects

One of local electronics shops, Kjell & Company, has started to sell 3D-printers and I looked at one of their videos on how it worked and was sooooo tempted.

I showed it to Mrs Miniaturesman and The Daughter and you have to figure a conversation going something like this
Mr Miniaturesman: Hey, look at this.
Mrs Miniaturesman: Bah, useless.
Daughter: Cool!
Mr: I do think one could find a lot of uses for it, really, and it’s plug and play and finally affordable.
Mrs: Bah, useless.
Daughter: Coooool!
Mr: The Oldest Son could learn to program 3D objects.
Mrs: Bah, useless. You want it for your hobbies, I guess.
Mr: Ehr, yes, obviously.
Daughter: Cool
Mrs: Bah, useless, but buy one if you want to.
Mr: Considering the ability to print spare parts and such I think the potential…. (long silence) … What did you say?
Mrs: You seem to want one a lot and I’ve heard you talking a lot about the tech, so go on and buy one.
Mr: (silence)
Next day I bought one.
Printing a wall section with the transparent PLA-filament that was supplied with the printer. The small 1/4 kg spool is situated under the print-bed. Handy if you want it out of the way, but annoying as you can't see how much is left until between prints when you remove the print-bed.
Since then it’s gone hot (well, obviously) and I’ve printed this and that to try it out and check what works and what doesn’t. It’s a lot of trial and error, which setting to use for which sort of piece and so on. With a spreadsheet on all my experiments with notes on what worked and what didn’t (yes, I’m an engineer at heart) I think I’ve started to get a hang of it now.
A soon bought a large spool of white PLA-filament and feed it from an obviously home-made external source.
Most of the stuff is from Printable Scenery and their Winterdale 2 Indiegogo crowd-funding campaign. If you’re interested in their products they have a new campaign at Kickstarter with a lot of ruins and a chance to buy into some of the stuff from the previous campaign.
This is some of the stuff that’s printed so far:
Some of the first objects I printed, from different sources.
Parts for a large tower.
A medieval crane for the harbour.
Walls, painted and ready for action
More walls, a grave-monument, two pieces of pier and some stone slabs.
A small mausoleum. This was printed with thin walls and is very fragile. One of those learning experiences.
A test on statues, printed with different layer thicknesses. 50, 150, 200 and 300 micrometer.
There is a noticeable layering, but it looks okay for stone structures and wood if it goes with the grain. If you want steel plates then it will probably be less than satisfactory. It all depends on what you want from your terrain, I guess. Seen from an arm-length away most looks perfectly presentable.
All in all, this is a great buy for a first printer. It’s affordable, plug-and-play, easy to use and looks nice. There are downsides, one is the limited print-volume, but Printable Scenery has everything made in both larger pieces and also in smaller modules that you can fit into this printer.

You’ll see quite a lot of printed stuff here in the future.

Welcome new follower Lorenzo Calvi with the blog Zerloon Place, where you'll find pulp, fantasy, SF and more. Give it a try!
A big "Hi!" to Google + follower Mark with blog £1 Wargames Rules, where you might find some downloadable scenery for your ordinary printer.

Monday, 6 June 2016

Another terrain-building weekend

Thomas came over this Saturday for another day of terrain-building and we accomplished quite a lot and used a lot of new tools – 3D-printer, static grass applicator and hot-wire cutter.
Static Grass Applicator
I bought a static grass applicator from WWS last year for a project that was delayed and it just laid there in a box. That one was used a lot during the day and to very good effect. We were both very satisfied with how it worked and the results. What we did was brush the ground with wood-glue and put on a layer of 2mm static grass. That will be so thick to practically cover the ground, you essentially don’t see the ground under the static grass. Over that we sprayed glue and put on another layer of 4 or 6mm static grass. The result is fantastic.
Hot-wire cutter
I bought this Proxxon hot wire cutter from the webshop Signalsidan a couple of weeks ago and used it for the floating rocks below. With this you can bend your cutting wire into whatever shape you want and then cut effortlessly, for example a river-bed. Thomas had a go with it and it’s the same here, very useful and a very good buy. It will be incredibly useful.
We bent the wire to a U-shape and Thomas played with it. A decent river-bed for a first try.
All in one piece (well, he did a little bit of carving after the big piece came off)
3D-printer
I bought this a couple of weeks ago and showed Thomas a bit of what I had printed and how it worked. There will be a post on the printer soon.

That’s the hardware, now for what was finished.
Flying boulders
These are for next game in the Pulp Alley campaign at the club. The Perilous Island campaign is nearing its end and the heroes will see the Island go up in flames and when that happens we need pieces of levitating broken ground, and these are the pieces. Think of them with black smoke obscuring the bottom pieces (you’ll see them in an AAR here soon).
I cut these with the hot-wire cutter, glued sand on top and sides and painted it chocholate brown before our terrain-day. 
Here they are, ready for action.
Hedges
We started these last year on a terrain-day and they were waiting for static grass. It’s rubberized horsehair hot-glued onto cork (DUGA from IKEA), dunked into coloured hamster bedding (all this done last year) and now grassed. We used a darker tone of 2mm static grass (applied over wood glue painted directly over the cork, no paints) and when dry we sprayed glue on top of the original layer of grass and applied a layer of lighter 4mm grass (or was it 6mm, can’t remember)
A pic from last year when we started these hedges.
Here they all are
Brambles
A very short experiment where we took a piece of rubberized horsehair, sprayed it with glue and applied 4mm static grass. The result is, in my opinion, a perfect piece of brambles or similar bush to be used as scatter terrain. I’ll do lots more of these.
Castle Ruin
I had this F201 Castle Ruin from Amera. The stonework was painted, ground covered with brown building acrylic with sand sprinkled over and painted chocolate brown. It was also waiting for static grass and we covered it in several colours of 2mm grass and topped that with 4 and 6 mm static grass. It turned out great, if I might say so.
only 2mm grass
4 and 6 mm grass added
3D-printed walls
I had these already painted and we grassed them. I guess there will be lots and lots of printed walls in the future, as you can never have enough. These are scaled for 28mm but I’ll do some down-scaled for 20mm scale too.
The new Harbour
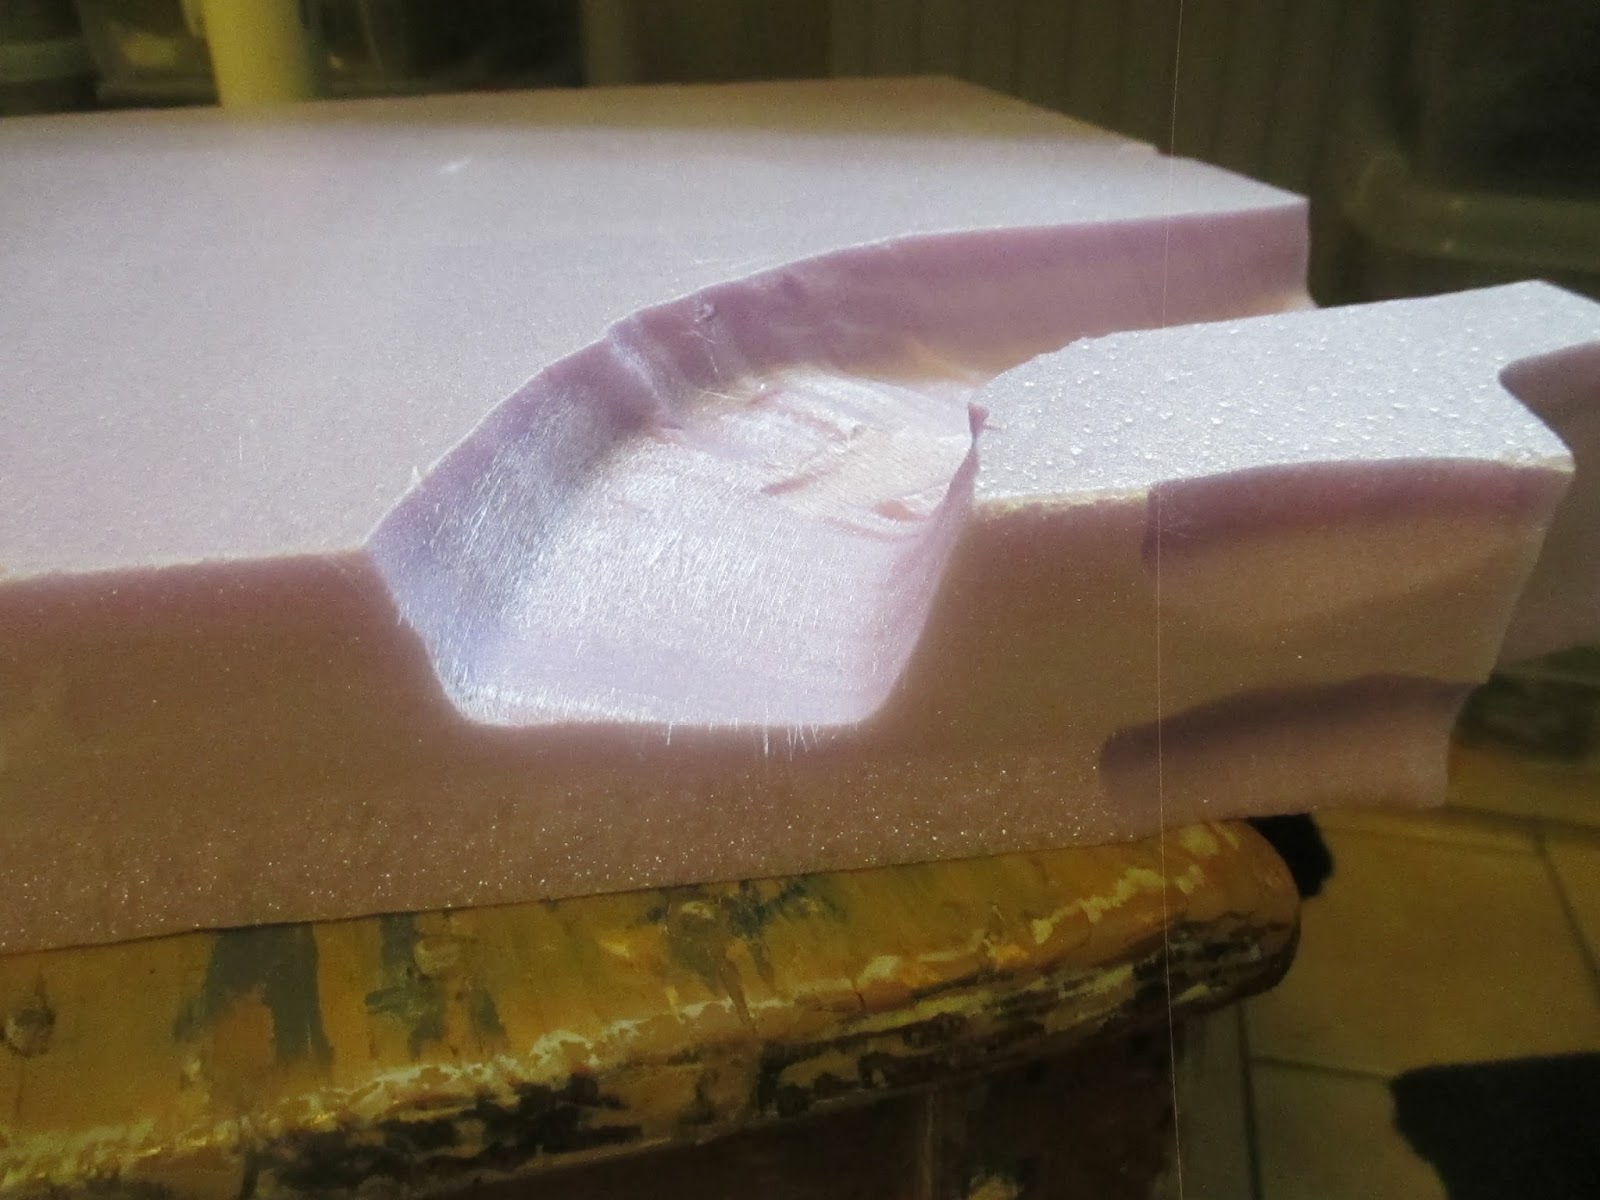
We cut out the pieces for the new harbour also. It will be a big 120x180 cm piece, enough to cover one of the gaming tables at the club. Now I “just” have to scribe in the stonework. That will be for rainy days…
The new sections. The Bridge stands where I will have a removable canal.
Parts from the earlier harbour will be converted (i.e., cut up) for use in the new set-up. This part will be cut along the table-edge.
Same with this part. Cuts at the table-edge and by the pink foam.
A good terrain-making day!

Friday, 3 June 2016

Dungeon Terrain from Direbadger

Dungeon from Direbadger in action
I’ve long been on the lookout for the perfect dungeon terrain for my Dungeons & Dragons games. 
I’ve tried:
World Works Games – printable paper scenery. I’ve got a couple of sets and while they do look good you need to print them out and assemble them. Never really used them in more than an odd game.
Terraclips – Cardstock terrain made by WWG above, and they look good but you can’t really build a dungeon after a map and the clips looks awful.
Battle Systems – great cardstock dungeon, perfect for Open Combat or other skirmish games set in a dungeon, and I’ve used it for that. But impossible to build a dungeon after a map.
All terrain is pre-painted.
In the autumn of 2014 there was a Kickstarter by a new company called DireBadger and they offered a MDF dungeon system that had everything I wanted.
Very user friendly and versatile system.
Illustration © DireBadger and used with permission.
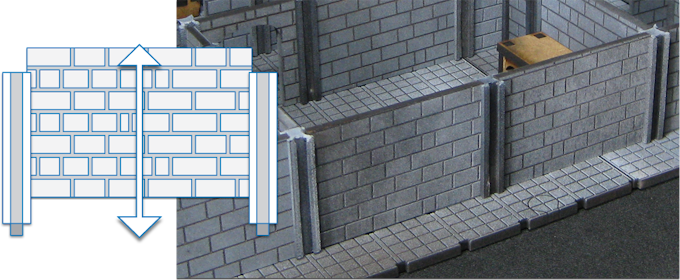
It comprises baseplates, wall-sections and inconspicuous pillars. Everything slots together easily and fast, and now I can build a dungeon true to scenario maps. 
There is no problem assembling the dungeon during gameplay when the adventuring party reaches a new room or corridor, and due to the versatility I can make whatever forms I want as the wall-sections come sizes between one and four inches. No problem if I need longer sections as that is easily done with a supporting pillar in between.
I’ve used this during the last year and I’m very pleased with the durability and flexibility. This is really good stuff and highly recommended. Well worth an investment if you’re into dungeon delving.
You can buy your own dungeon, or a MDF village, through their website. 
I'll invest in a couple of the new diagonal walls soon.

Thursday, 2 June 2016

Brimstone – Swamp Slugs of Jargono

Another Enemy Pack for Shadows of Brimstone, this time the Swamp Slugs of Jargono. As I mention in the previous post on Hell Vermin, I’ve got these two packs that are not a part of the Kickstarter a while ago.
I was a bit sceptical about these first, as they needed quite a bit of green-stuff to be presentable, but when that was done… I really like them. The ick-factor is great with these carnivorous slugs.
In my mind they are ambush-predators, lying in wait, submerged and with only the eyestalks visible. When an unsuspecting prey comes close they rear up and attack. Also, as they have teeth and fangs I think that they are far more than slugs, so I gave them a pink-red fleshy underside and mouth.
I do believe they came out really well, and look forward to see them on the gaming table (possibly in tonight’s game)
Paints used:
Skin: Vallejo 887 Brown Violet, drybrushed 978 Dark Yellow and 954 Yellow Green. Washed with Army Painter Strong Tone Ink.
“Head”: 978 Dark Yellow, drybrushed 954 Yellow Green. Washed with Army Painter Strong Tone Ink.
Flesh: 944 Old Rose, wetbrushed 835 Salmon Rose, washed with Citadel Washes Baal Red
Fangs and teeth: 52 Bone White and AP Strong Tone.

Everything coated with Vallejo Gloss Varnish.

Wednesday, 25 May 2016

BK-2 Soviet Riverine Gunboat in 28mm from Barrage Miniatures

The harbour is under expansion and there will of course be more space for ships and boats. This one, the BK-2 Soviet Riverine Gunboat from Barrage Miniatures, is a welcome addition to the fleet that is already crowding the waters in the present harbour. The one under construction will be 6’x4’ compared to the present 3’x3’, so there is certainly a need for more vessels.
In the kit you’ll find the one-piece hull, a turret and also an insert for the open cockpit (seats and a machine-gun mount) and a heavy machine-gun. I skipped the latter two parts as I wanted space enough for a miniature to stand in the cockpit.
The hull needed a tiny bit of green-stuff to fill a couple of small bubbles but otherwise everything was great.

I painted with a brownish green colour, stippled on different metal colours and gave it several different washes to make it look well used.